Part 2 - Quick Start
Quick Start
There are multiple ways for Udocx to interface with your users for document acquisition. This ‘Quick Start’ example will focus on scanning from an email-enabled MFP device to a SharePoint document library via SMTP. Other interface methods are described in Part 6 - Udocx Interface Methods.
The ability to send scanned documents as SMTP email file attachments is inherent in virtually all MFP devices. When a Udocx application is email-enabled, it receives a unique SMTP address which can be added to the address book of the MFP for convenient access.
Example:
Scan to SharePoint Invoices <contoso+invoices@mail.udocx.com>
The SMTP address is built using the SMTP prefix of the Udocx customer (Contoso) along with a unique application ID (invoices) and is and hosted by the Udocx cloud service itself.
You can find SMTP configuration instructions here:
http://www.udocx.com/knowledge-base/email-enable-udocx-application
To create a Udocx App to scan to a SharePoint document library, follow these steps:
- Login to the Udocx Admin portal with your Office 365 email address and personal password.
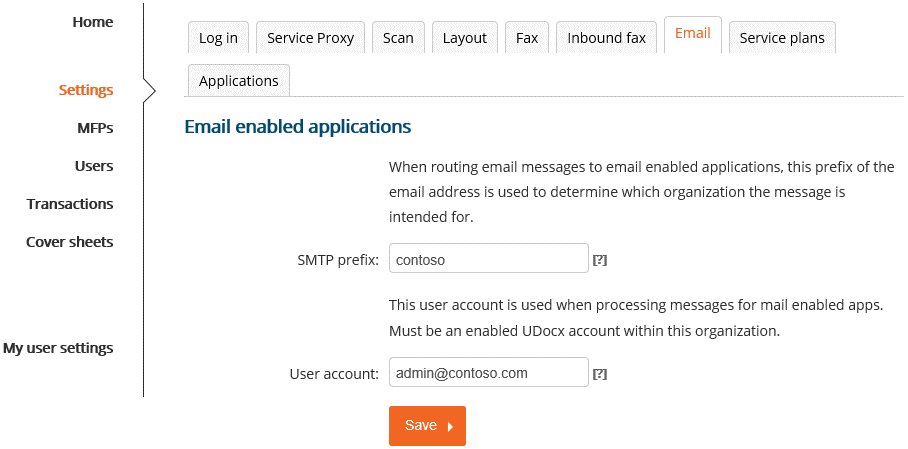
- From Settings > Email (tab), complete the ‘SMTP prefix’ and ‘User account’ fields. This is a global setting which only needs to be done once (do not edit if they are already configured). Click [save].
-
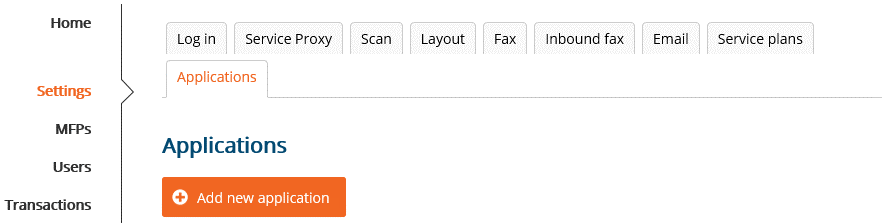
 From Settings > Applications (tab) > [Add New Application].
 -
 Select “Scan to SharePoint Folder” from the list, then click [Next].
-
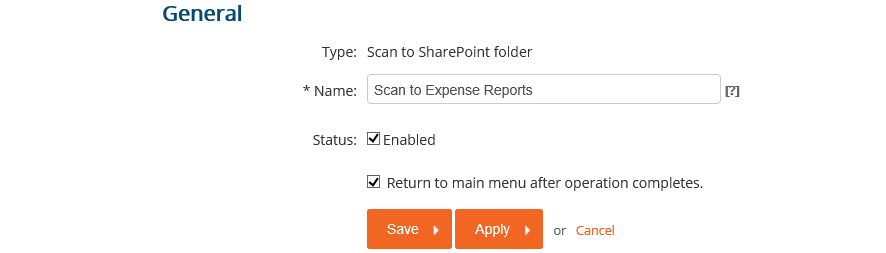
On the ‘General’ tab, give the new application a succinct name (short but descriptive).
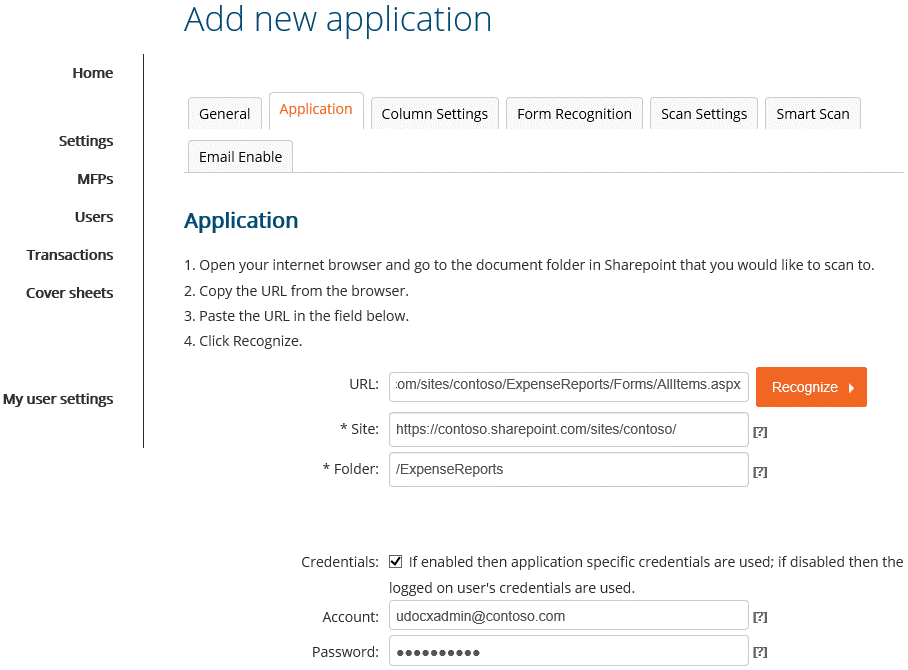
- Select the Application (tab).
- Copy your SharePoint document library URL from your browser and paste it into the URL field.
- Click [Recognize] to parse the URL and populate the ‘Site’ and ‘Folder’ fields.
-
Enable “Credentials” and enter the account name and password to use for SharePoint write access.
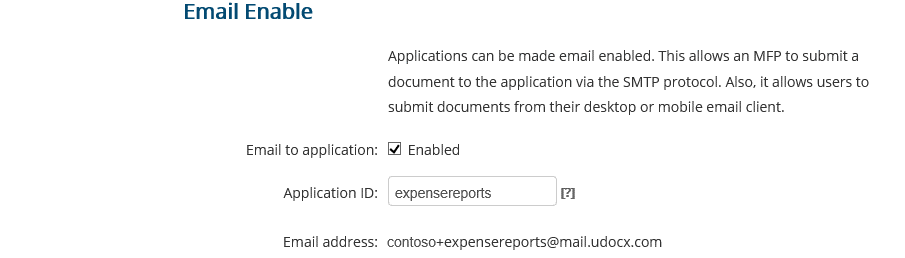
- Select the Email Enable (tab).
-
Click the “Email Enable” check box, then provide a unique Application ID for this Udocx application (you will see the email address changing in real time). The final email address is constructed from the ‘SMTP prefix’, the ‘+’ sign, and the ‘Application ID’, @mail.udocx.com.
-
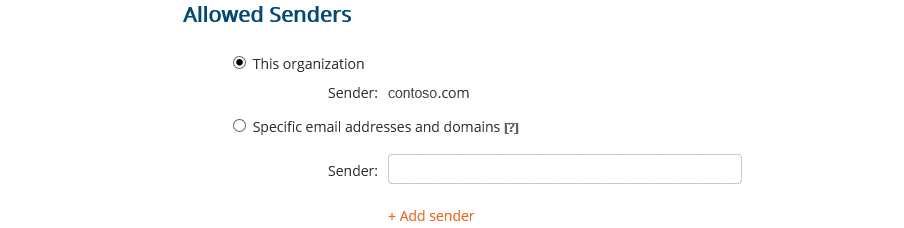
Note the ‘Allowed Senders’ configuration and ensure that the addresses that will be sending emails to this account will be allowed. This can be a combination of entire domains or specific email addresses.
- Click [Save].
To quickly test the SharePoint configuration of your new Udocx application, log into the My Udocx interface with your browser (https://my.udocx.com) using your Office 365 credentials. You will see the Udocx application that you just created. Drag & drop a document onto the application, then confirm that the document is successfully delivered to the SharePoint document library (typically less than 1 minute).
To quickly test the email configuration of the Udocx application, use your SMTP client to send a file attachment to the email address constructed during step 11 (above). Note that Udocx ONLY processes file attachments. Email message bodies (if present) are always ignored. Confirm that this document was successfully delivered to the SharePoint document library.
If either or both tests fail, check the Udocx transaction log for information regarding the failure. The transaction log will typically provide enough clues to isolate the problem. You can read more about the transaction log in the Udocx knowledge base.
https://www.udocx.com/knowledge-base/transaction-log
When the new, email-enabled, Udocx application has been verified, add its SMTP address to the address book of your MFP device for easy access. Repeat this process until all the SharePoint document libraries that you wish to use as destinations in your Udocx document workflow are available in the MFP address book.
TIP: It is often easier and more accurate to populate the MFP address book using the administrator’s web interface (when this feature is available on the MFP device).