Configure your Xerox MFP
Xerox MFP devices are easily configured to interface with Udocx. This article will guide you through the prerequisites for setting up your Xerox MFP device and the configuration within the Udocx Admin Portal. This procedure is required once per MFP device.
Xerox MFPs use the Extensible Interface Platform (EIP) to connect to Udocx. Follow the steps below to configure your device.
Steps
1.Confirm that the MFP device can access the Internet. Attach a laptop to the network cable used by the device and ensure that you can access https://mfp.udocx.com and other websites like http://www.google.com. If you are unable to access the Internet, you will need to resolve the issue before proceeding with the Udocx configuration.
2.Ensure that the following services are enabled on your Xerox device:
- Extensible Services Browser
- Extensible Service Registration
- WSD Services
To enable the Extensible Service Browser, login on the Xerox device configuration and go to "Properties" > "General Setup" and enable the option “Extensible Services Setup”.
NOTE: On some Xerox devices, Extensible Service Registration is called Custom Services. Ensure that this option is enabled under "Properties" > "Services" > "Custom Services".
To enable the Extensible Service Registration, go to "Properties" > "General Setup" > "Extensible Service Registration". Click [Edit], enable "Extensible Service Registration", and click [Save]
Select 'Edit HTTP SSL' and enable HTTP/HTTPS.
To enable WSD, go to: "Properties" > "Connectivity" > "Protocols" > "WSD". Enable WSD and click [Apply].
3.Use either the Xerox RegClient tool to add the Udocx application on the MFP or install the Udocx Service Proxy to provision your MFP.
4.Go to the MFP and press the newly created Udocx button. You are now taken to the login screen with the message "Sorry, this machine does not have permission to use this service. Please contact your administrator". This indicates that your MFP is successfully connected to the Udocx service , but the serial number of the device is not yet registered in the Udocx portal
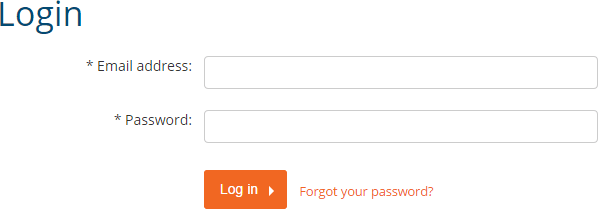
5.Login to your Udocx admin account in the Udocx administrator portal
6.Go to [MFP] and select [Add new MFP]
7.On the “General” tab fill in:
- Status = Enabled
- Name = Friendly name of this MFP
- Serial number = serial number of the MFP found via the MFP configuration
- Manufacturer = Xerox
- Email suffix = your email domain (can be left empty for now)
- Account suffix = your UPN domain when UPN is different from email domain (can also be left empty for now)
Click [Save] to store this MFP configuration
8.Go to the MFP and press the Udocx button again. When the “Login to Udocx” window appears on your MFP display, you have successfully connected your device to Udocx.
Now you're all set to configure your Udocx Applications to interface with Microsoft Office 365. See the How to Create Apps for more information.