Create a 'Scan to Email' App
The 'Scan to Email' App allows users to scan a document into PDF format and automatically attach that PDF to an outgoing email. The user may select an email address from their Outlook contacts right on the MFP screen (native Udocx interface only). The email will be archived in the Outlook 'Sent items' as if it were sent from a workstation or mobile device.
Steps
1.Go to the Udocx administrator portal. And login with your admin account. Or, if your admin enabled you, login with your user account to customize your own Apps.
2.To create an organisation-wide App select Settings > Applications.
To create a MFP specific App select MFPs > "configured MFP" > Applications.
To create a user specific App select Users > "user" > Applications.
If you are a user and want to customize your own Apps go to [My user settings].
3.Choose [Add new application].
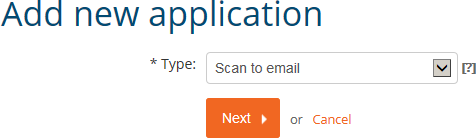
4.Select “Scan to Email” and press [Next].
5.In the “General” tab give the newly created App a name and make sure the “Status” is enabled. You may also control whether to stay in the app or return to the Udocx main menu between operations.

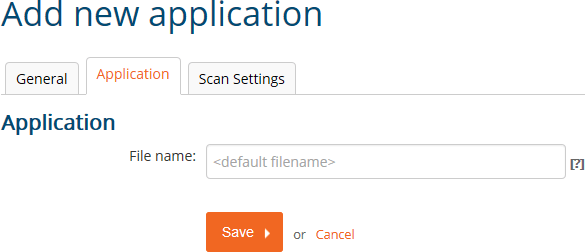
6.Select the 'Application' tab to configure the file name based on explicit text + a GMT date/time stamp or accept the default generated file name (Scan_GMT date/time).
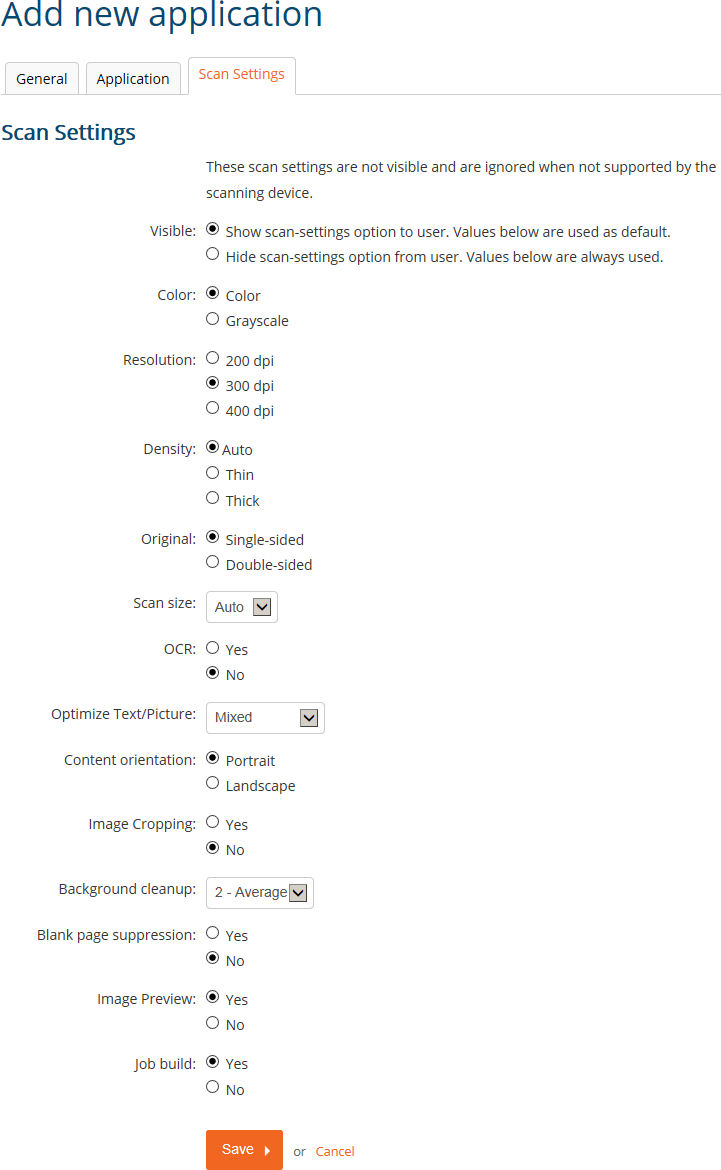
7.The 'Scan Settings' tab allows you to configure the scan settings that will be used by default and whether or not the end-user can modify those settings at scan time.
The "Job build" option controls how the MFP functions when a document is placed on the glass instead of in the document feeder. When enabled, a single Udocx job may be constructed from multiple scan operations. When disabled, only a single page will be scanned and immediately processed by Udocx without further confirmation. This behavior is MFP specific and may not apply to your make/model of device.
Note: Scan options that are not applicable for your particular make/model of the MFP will be safely ignored.
8.Click [Save] to complete the configuration.